Helldivers 2 Orbital Bombardment Strategies Explained
Orbital bombardments in Helldivers 2 are one of the most thrilling and destructive tools in a player’s arsenal. When used effectively, they can turn the tide of a mission, clearing swaths of enemies and giving your squad the upper hand in seemingly impossible situations. However, mastering the timing, placement, and strategy behind orbital strikes requires more than just pointing and firing. In this guide, we’ll break down the best approaches to maximize your impact.
Understanding Orbital Bombardments
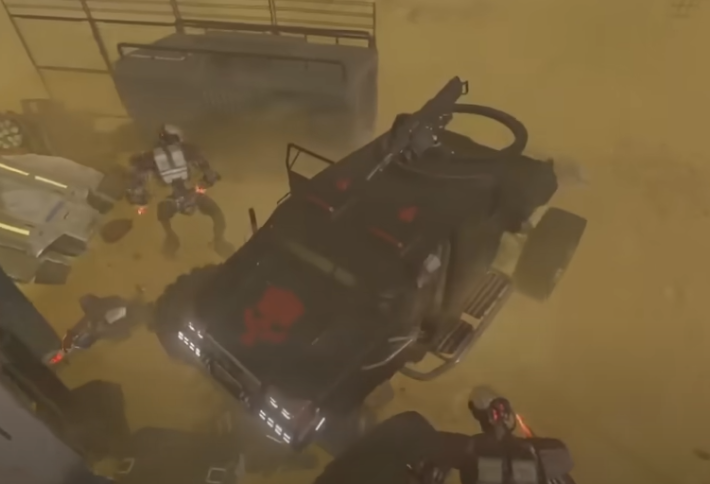
Orbital bombardments function as precision airstrikes from the Helldivers’ fleet above. Each strike deals massive damage in a localized area, making them ideal for crowd control, finishing off bosses, or forcing enemies out of strategic positions. However, poor placement can result in wasted energy or even friendly fire, so planning is key.
Before you can use these powerful strikes consistently, you’ll want to ensure your squad has enough resources. This may involve saving in-game currency or choosing wisely when to buy Helldivers 2 medals to unlock additional abilities and equipment. Balancing resources between upgrading your loadout and securing more orbital strikes is crucial for prolonged missions.
Timing Is Everything
The first rule of orbital bombardments is timing. Dropping a strike too early can leave enemies unaffected, while waiting too long may allow them to swarm your team. Pay close attention to enemy waves and their movement patterns. High-density clusters or enemies holding objectives are prime targets for orbital strikes.
Communication is vital in multiplayer missions. Make sure your team knows when and where you plan to strike, so they can avoid the blast radius and coordinate follow-up attacks. Synchronizing orbital strikes with grenades or heavy weapon fire can amplify damage and clear objectives much faster.
Strategic Placement
Where you deploy your orbital strike often matters more than when. Ideally, you want to target chokepoints, objectives, or heavily armored enemies. Avoid random targeting, as the cooldown for orbital bombardments is significant, and a missed strike can leave you vulnerable.
Advanced players often combine terrain awareness with strike placement. For example, luring enemies into narrow corridors before activating an orbital strike can maximize the number of enemies hit while minimizing risk to teammates.
Resource Management
Orbital bombardments aren’t unlimited. Managing resources efficiently can give you a long-term advantage in challenging missions. One way to support this is by investing in upgrades that enhance your bombardment capabilities or improve your squad’s survivability. For players looking to expand their options, it’s worth considering when to buy Helldivers 2 items or spend medals to ensure your squad is always equipped for high-pressure situations.
Final Tips
-
Scout before striking: Always use reconnaissance to confirm enemy positions.
-
Avoid friendly fire: Orbital strikes can damage allies; communication is essential.
-
Combine with other abilities: Heavy weapons, traps, or grenades can complement orbital strikes.
-
Save for critical moments: Don’t waste bombardments on minor enemy clusters when a boss or major objective is approaching.
Mastering orbital bombardments in Helldivers 2 is about more than raw firepower—it’s about strategy, timing, and teamwork. By learning when to strike, where to strike, and how to manage your resources, you can make orbital strikes one of the most effective tools in your Helldivers arsenal. And don’t forget, balancing your gameplay with wisely chosen upgrades—such as when to buy Helldivers 2 medals or buy Helldivers 2 items—can make all the difference in high-stakes missions.